

Beatrice playing with the finished product. They also had fun making a circle to keep out tornadoes (yes, they are true midwestern girls).
How many times have you heard "Mom! When are we going to do something fun?" I hear this about ten times a day (ironically it is often on the way home from the zoo or some other epic adventure.) Over Spring Break, our wallets demanded that we find some fun stuff to do at home. So we created cardboard city scapes.
Handmade Pretties uses a lot of 5 pound stuffing boxes, so we chose these as our starting box. Any large box will work.
The first step is to open up the box. Open the flaps on the top and the bottom, then carefully break the seam along the side of the box.
Next, draw your city scape on the main portion of the box (you will be cutting off the top flaps and using the bottom flaps as the supports to make the city stand). Using scissors or a serrated knife, cut out your city. I prefer the serrated knife, since it can be used like a saw, but I have been known to cut deeply into my finger tips while doing this, so be very careful.
Now, draw some doors that sit right along the crease between the main body of the box and the bottom flaps (this way the doors will be at ground level). When you cut out the doors, be sure to leave one side attached if you want the door to open and close.

Beatrice carefully choosing her stickers.
The final step is to give the city scape to your children to decorate. My kids used markers and stickers, but crayons, stamps, paint, and/or glitter glue can also be used.
Sylvia putting on the finishing touches.
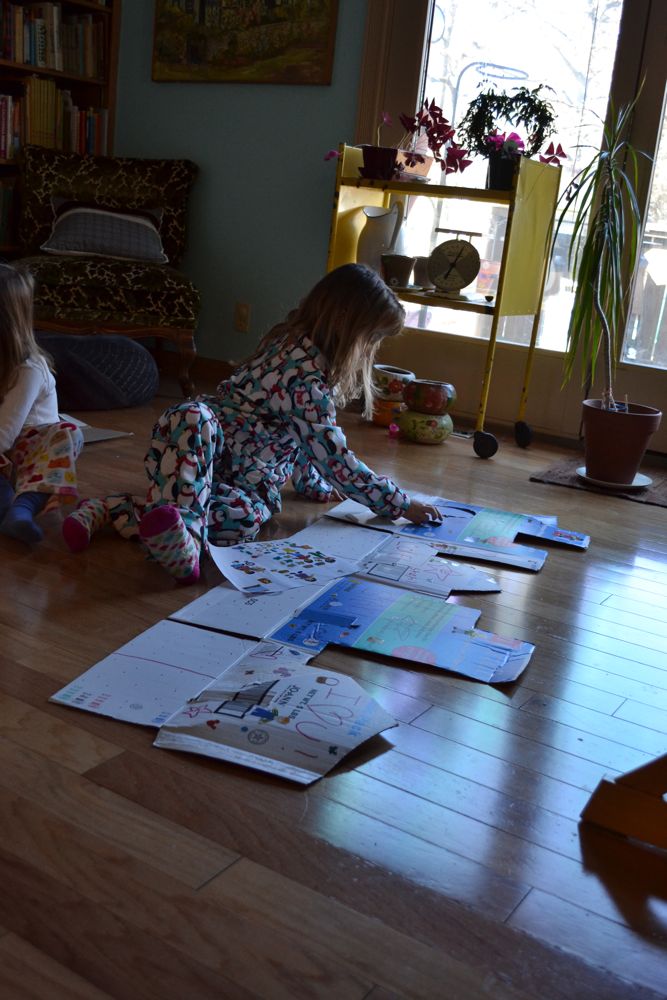
Once the kids are done decorating, set up your city and play! The city scapes are a fun addition to blocks and cars, and can be easily folded flat to store. Once the kids are done with them, don't forget to recycle the cardboard!


No comments:
Post a Comment